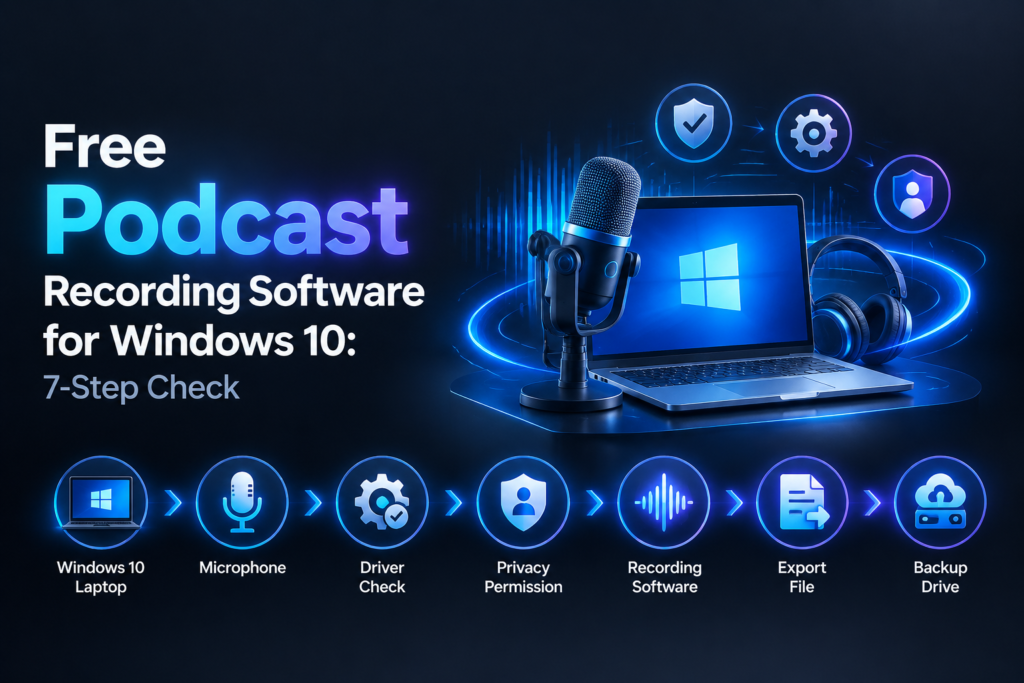
Choosing remote podcast recording software free of charge is not simply a matter of finding a record button. A dependable remote interview needs an onboarding process, a microphone check, a clear consent step, separate-track handling, and a file handoff that an editor can repeat without guesswork.
This guide uses a startup-operator lens. The goal is to reduce avoidable failure points, make the guest experience easy to repeat, and create a recovery path when something goes wrong. It focuses on selection criteria and operating procedure rather than reviewing individual platforms.
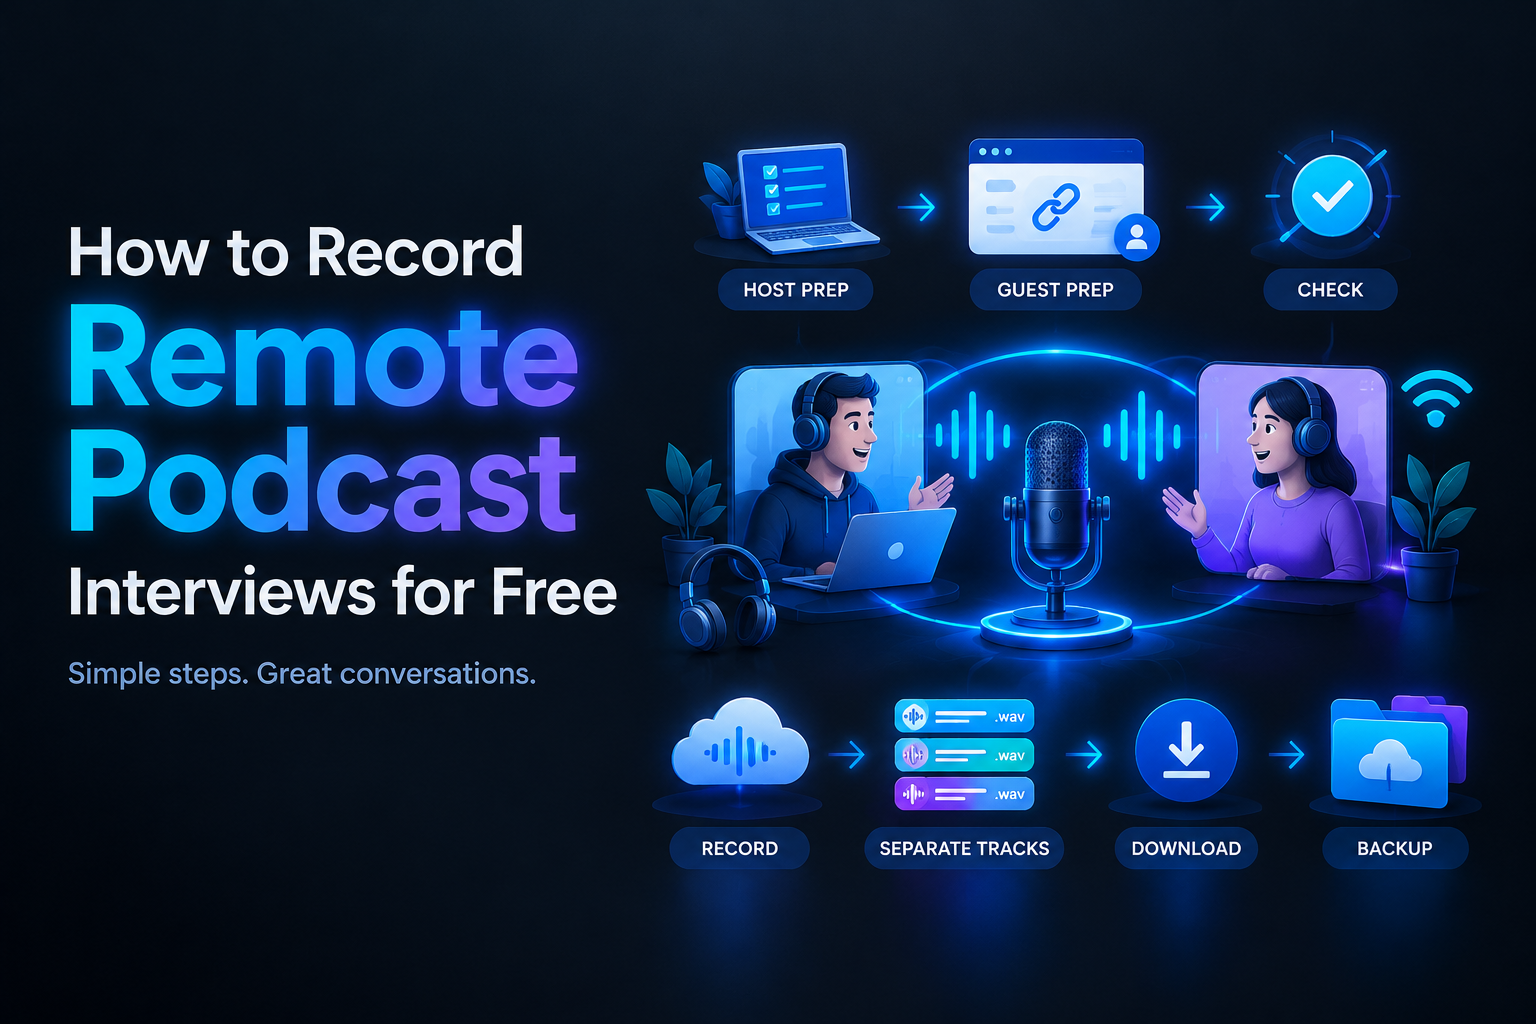
1. What should free remote podcast recording software provide?
“Free” describes a pricing tier, not whether a tool is suitable for an important interview. Evaluate the complete workflow before inviting a guest.
A low-friction guest entry path
The guest should receive one clear link and know what to do next. Check whether the tool requires an account, which browsers and devices it supports, when microphone permissions appear, and how the guest knows recording has started.
For a useful benchmark, Zencastr’s recording guide describes a browser-based guest workflow, track-level downloads, and a confirmation step before participants leave. Treat that as an evaluation reference rather than assuming every free plan has identical features.
Run the guest journey yourself. A host dashboard may look simple while the guest sees an unexpected permission request, unsupported-browser warning, or confusing waiting room.
Separate tracks
Separate tracks let you adjust one speaker without changing the other. If a guest coughs, receives a notification, or has a brief background-noise problem, you can edit that speaker’s file instead of damaging the entire mixed conversation.
Platform documentation illustrates the distinction: Zencastr explains that participants receive separate audio and video files and that separate tracks can isolate a noise on one participant’s recording. By contrast, Adobe’s current feature table says original, speaker-separated downloads are included with Adobe Podcast Premium rather than its free Studio tier. Plan limits can change, so verify them immediately before committing to a workflow.
A recording method that matches the risk
Remote recording workflows generally fall into three categories:
- Cloud-first: the service receives and stores the session online.
- Local: each participant’s device captures its own source file.
- Hybrid: participants communicate live while separate or local recordings are also created.
Local capture can reduce the effect of a temporary connection problem on the source file, but it does not remove every risk. Zencastr documents local browser capture with progressive uploads, while also requiring participants to keep the recording page open until upload confirmation appears. The practical lesson is broader than one product: understand where the source is captured, where it is stored, and when it becomes safe to close the session.
Predictable file access
Ask before selecting a tool: “When the interview ends, how will the original files reach my editor?” Confirm whether the free plan allows you to:
- Download original audio.
- Download each speaker separately.
- Export the format your editor needs.
- Access files after the session ends.
- Keep files long enough for your production schedule.
- Download without an unexpected upgrade prompt.
A transcript, preview player, or enhanced mix is not automatically a substitute for the original recording. Preserve originals until editing, approval, publication, and backup are complete.
2. Prepare the guest before recording day
Guest onboarding is one of the least expensive ways to improve reliability. Send a short brief at least a day ahead when possible. Include:
- Date, time zone, expected duration, and recording link.
- A backup contact method, such as text or email.
- A request to use headphones if available.
- A recommendation to sit in a quiet, soft-furnished room.
- A reminder to close unnecessary applications and notifications.
- A request to plug in the device or start with a full battery.
- A plain-language explanation of recording, consent, and intended use.
Keep the equipment request realistic. A guest usually should not need to buy a studio microphone for one conversation. A wired headset, USB microphone, or built-in microphone in a quiet room may be sufficient for the interview’s purpose. For your own setup, see the first-recording equipment setup guide.
Give the guest a one-minute arrival checklist
- Open the link in the recommended browser.
- Allow microphone access when prompted.
- Select the intended microphone and headphones.
- Close music, video calls, games, and large downloads.
- Place the microphone at a consistent distance from the mouth.
- Keep a phone nearby for backup communication, but silence its notifications.
3. Run a connection and microphone check
Do not wait until the formal introduction to discover that the microphone is muted or the wrong input was selected. Build a five-minute check into every session.
Check the device and browser
Ask the guest to confirm that the recording room sees the intended microphone. If an input meter is available, have the guest speak at a normal interview volume and watch for consistent movement. A flat meter can indicate a permission, mute, or input-selection problem. Constant peaks can indicate that the microphone is too close or the input level is too high.
Repeat the check on your side. Browser permissions can change after an operating-system update, browser reset, or switch to another microphone.
Listen for problems meters cannot reveal
Ask the guest to speak for 20 to 30 seconds while you listen for:
- Echo from speakers feeding back into the microphone.
- Fan, air-conditioner, street, or keyboard noise.
- Crackling from a loose cable or adapter.
- Clipping or harsh distortion on louder words.
- Very low volume compared with your own voice.
- Reverberation from a large, bare room.
Fix the source before applying aggressive noise reduction: move away from a hard wall, close a window, use headphones, reposition the microphone, or reduce the input level. Use the podcast mic quality test guide when reviewing the result.
Make a short test recording
A live meter shows that sound is entering the application. A test file confirms that the application is writing audio and creating the expected tracks.
Record a short exchange, stop, and play it back if the platform allows. Verify that both voices are present, each speaker appears on the expected track, the audio is not heavily delayed or distorted, the file opens or previews, and the upload or local-save process has begun.
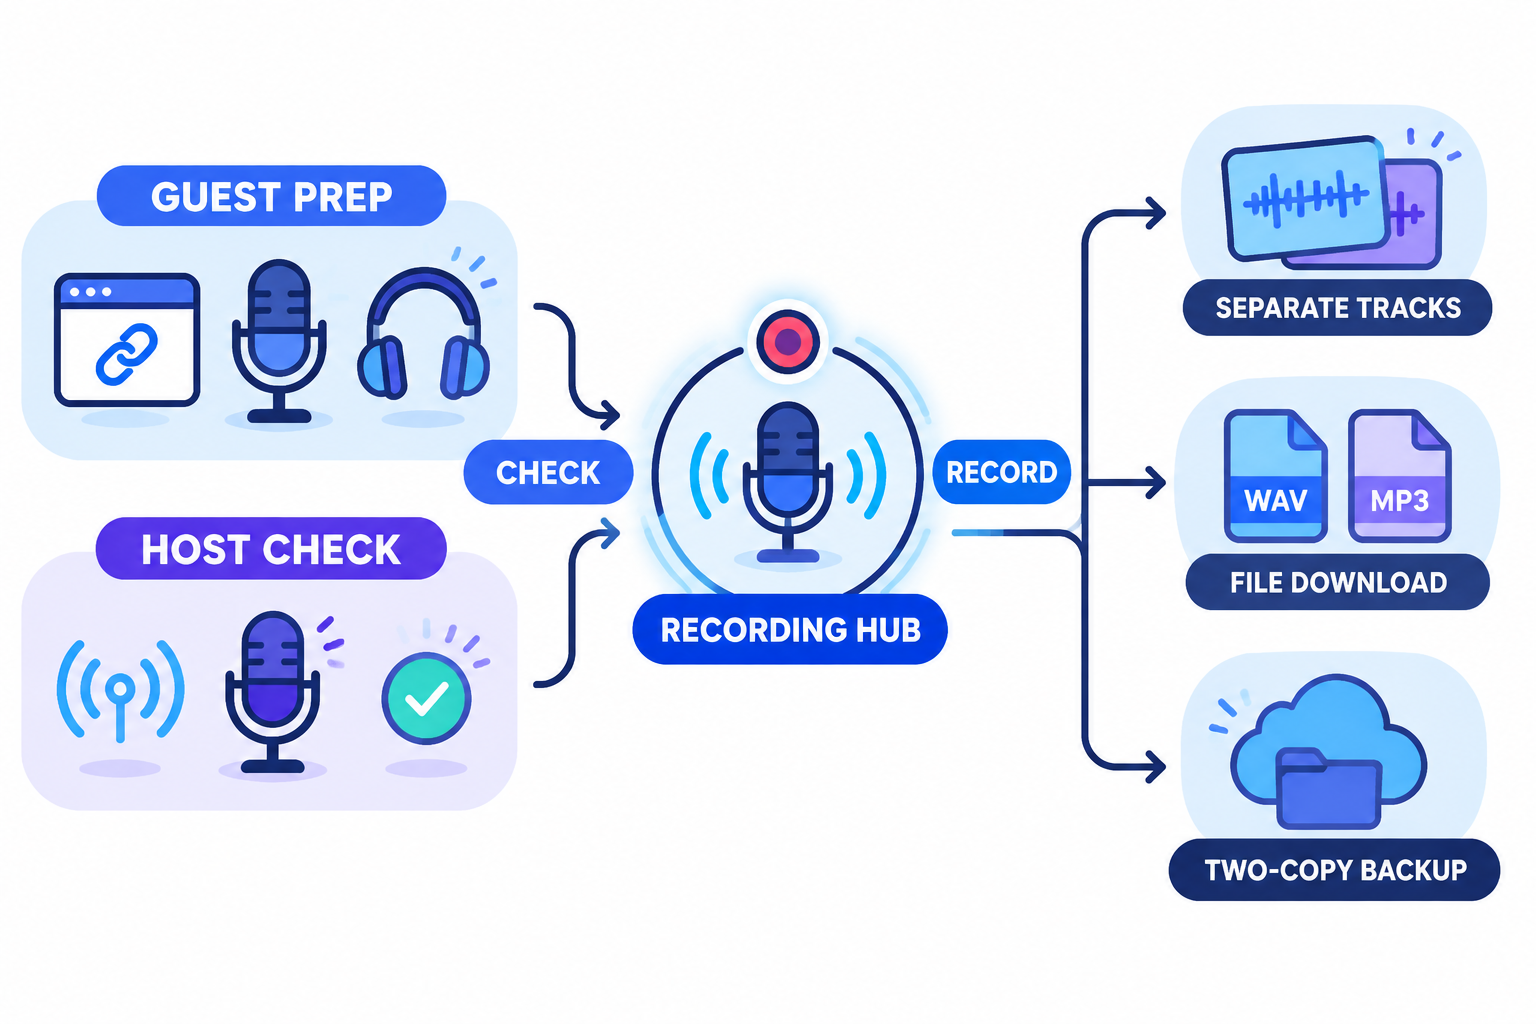
4. Local versus cloud recording: which approach is safer?
Cloud-first recording
Cloud-first recording can simplify collaboration because the host and guest do not need to manage local files during the conversation. The tradeoff is that you must understand how the service captures the call, what happens during a connection interruption, how long files are retained, and which exports are included in the free tier.
Local recording
In a local workflow, each participant’s device captures its own audio. The files may upload during or after the session. That can protect the source from a temporary network problem, but it creates additional responsibilities:
- The device needs enough free storage.
- The device should remain powered during recording and upload.
- The browser or application must remain open if required.
- The participant should wait for upload completion before closing the session.
- The host must verify that every expected file arrived.
For example, Zencastr’s troubleshooting documentation identifies unstable connections, leaving before confirmation, and restrictive networks as possible causes of an unfinished upload. That supports a useful operating rule: local capture is a resilience layer, not a complete backup plan.
How to choose
Use cloud-first recording when convenience and fast collaboration matter most and the interview is relatively low risk. Prefer local or hybrid recording when the interview is difficult to reschedule, the guest is important, or you need more control over each speaker’s source file.
Run an end-to-end trial with a second person. Join, record, stop, upload, download, and open the files. A tool that works in a demo but fails during export is not operationally free.
5. Build a separate-track workflow
Separate tracks are useful only when they are organized. A folder containing “audio 1,” “audio 2,” and “final final” is an editing problem waiting to happen.
Use a consistent session name
Use one naming pattern:
YYYY-MM-DD_GuestName_Topic
For example:
2026-09-22_JordanLee_RemoteHiring
Use a folder structure such as:
01_Originals02_Edit03_Exports04_Release
Label speakers immediately
After confirming that the downloads open, rename them:
2026-09-22_JordanLee_Host.wav2026-09-22_JordanLee_Guest.wav2026-09-22_JordanLee_Video.mp4
Listen to the first few seconds before renaming. Track 1 is not necessarily the host.
Align before editing
Separate files may begin at different times. A short verbal slate, countdown, or hand clap creates a synchronization marker. After importing, align the tracks, check for drift, and mute unused microphones.
If you need to combine audio files before editing, see the guide to merging podcast audio files online, while keeping untouched originals separate.
6. Download and organize files before ending the session
File handoff is part of the recording workflow, not an administrative task for later. Before telling the guest the interview is finished, confirm that processing or upload has completed.
Use a download checklist
- Confirm that the session shows as complete.
- Download every speaker track you expect.
- Download the original or highest-quality version available.
- Download video separately if you plan to create video clips.
- Open at least one audio file and check its duration.
- Move files into the correctly named session folder.
- Copy the folder to a second storage location.
Zencastr’s setup instructions warn that closing the tab, browser, or computer before the confirmation step can interrupt uploads. Apply that as a general handoff rule: do not end the session until the platform confirms that participant files are finalized.
Separate originals from working files
Never edit the only copy of a recording. Keep original downloads unchanged, then create working copies for noise reduction, leveling, cutting, or transcription.
When turning an interview into articles or newsletters, preserve the source folder and create separate output folders. The podcast-to-blog workflow guide can help you plan that handoff without mixing publication assets into the archive.
7. Backup and privacy checklist
Ask for clear permission
Tell the guest that the conversation will be recorded before recording begins, explain the intended use, and ask for an affirmative response. A short on-mic confirmation can help your production records, but it is not legal advice.
Recording-consent rules vary by jurisdiction. The FTC’s guidance explains that state requirements can differ for recorded telephone conversations and recommends legal guidance when the rules apply. Read the FTC recording-consent guidance, notify every participant, obtain permission before recording, and document restrictions on publication or reuse.
Limit access to files
- Use a private session link when supported.
- Share downloads only with people who need them for production.
- Avoid placing raw recordings in public folders.
- Remove unused guest data from shared workspaces when the project is complete.
- Review the provider’s retention and deletion controls.
Keep two copies until publication is complete
Maintain at least two copies in separate locations until the episode has been edited, approved, published, and backed up. One can be your working drive; the other can be a cloud folder or external drive. The backup should not depend on the same single device as the working files.
What is the best way to record a podcast remotely?
The best method gives you a simple guest experience, speaker separation, a recovery path for connection problems, and a clear file handoff. For many small shows, that means browser-based remote recording software with separate tracks, a guest preparation checklist, and file verification before the session ends.
Judge a tool by what happens when a guest joins late, selects the wrong microphone, loses connection briefly, or needs help downloading files. Operational clarity is often more valuable than a long feature list.
What is the best free software for recording podcasts?
There is no universal winner because free plans, export limits, and storage rules change. Shortlist tools that clearly document guest access, separate tracks, recording location, export formats, storage, and restrictions. Then run your own end-to-end trial with a second participant.
Use this pass/fail test:
- A guest can join without confusion.
- Both microphones are captured correctly.
- Separate tracks are available if your workflow needs them.
- A short connection problem does not automatically destroy the source recording.
- You can download and open the files without an unexpected upgrade.
- You can store and back up the files using your existing process.
Final recommendation: optimize for handoff, not hype
Free remote podcast recording software can support a professional interview when paired with a disciplined process. Prepare the guest, check the microphone, confirm consent, understand local versus cloud recording, capture separate tracks, download promptly, and maintain two copies of the originals.
That workflow scales better than chasing every new feature. As your show grows, you can add better microphones, editing tools, transcription, or video production. The foundation remains the same: every guest should know what to do, every recording should have a recovery path, and every file should arrive where the next person can find it.