Free podcast recording software for Chromebook is easiest to use when it runs in your browser instead of requiring a Windows or macOS installation. A Chromebook can handle a lean podcast workflow: prepare an outline, connect a microphone, record an interview, export the audio, and share the files with your team. The main limitations are browser compatibility, microphone permissions, device performance, internet dependence, and local storage.
This guide focuses on a practical workflow for small teams and startup shows. It does not assume a dedicated studio computer or an advanced editing setup. The goal is to make your first Chromebook recording stable before you add more tracks, effects, video, or production complexity.
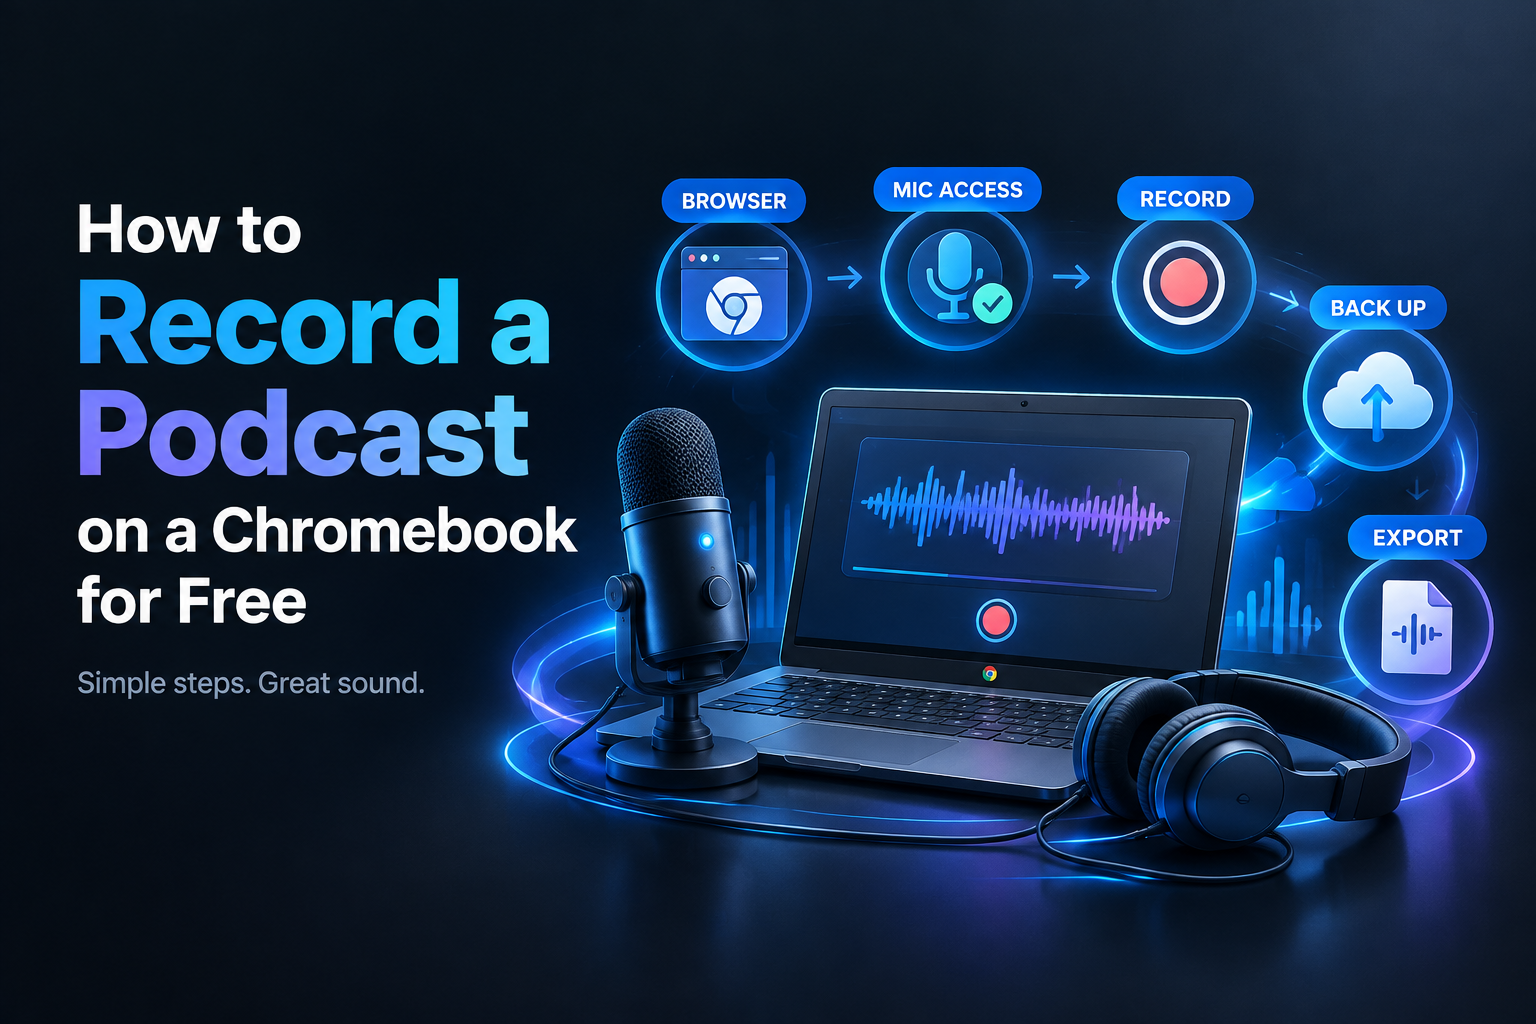
1. What Chromebook podcast recording requires
Before choosing a recorder, check the basic requirements below.
- A supported browser: Use the latest version of Chrome available for your Chromebook. BandLab recommends the latest Google Chrome for compatibility and stability, supports current Chromium-based browsers, and requires an active internet connection. Review BandLab’s current browser and system requirements before relying on it for an interview.
- A microphone: The built-in microphone is acceptable for a test, but a USB microphone or wired headset usually gives you more consistent placement and fewer connection variables.
- Headphones: Wired headphones help prevent speaker feedback and generally avoid the extra delay that can occur with Bluetooth monitoring.
- Stable internet: Browser studios may need an active connection to open projects, save work, or upload recordings.
- Available storage: Keep local space for exported WAV or MP3 files, even if your project is also saved online.
- A quiet recording space: Software cannot completely remove keyboard noise, HVAC rumble, room echo, or nearby conversations.
BandLab is one useful browser-based example because its official guide describes Studio as a free, cloud-based digital audio workstation. It supports a Voice/Audio track, microphone selection, input-level monitoring, and browser recording. The BandLab Studio recording guide explains the setup sequence.
You do not need to buy a complicated setup for your first episode. If you are comparing microphones, headphones, and accessories, use Podtools’ small-business podcast equipment buying guide. Prioritize a stable signal and a repeatable workflow over a long equipment list.
2. Browser-based versus installed tools
Why browser-based recording is usually the best fit
Browser recording is usually the lowest-friction option on ChromeOS. You open the service, create a project, allow microphone access, choose an input, and record without installing a traditional desktop application.
This approach also works well for lean teams. A host can use the same browser workflow on another Chromebook, and a collaborator can access a cloud project when the service supports collaboration. The trade-off is that browser recording depends on internet access and available device resources.
Do not assume every browser recorder has the same export formats, project limits, collaboration features, or offline behavior. Test the exact service you plan to use with a one-minute recording before scheduling a guest.
Why Audacity is not a straightforward Chromebook choice
Audacity is free and open source, but its official documentation states that it does not support ChromeOS and cannot be run on a Chromebook as a supported application. The Audacity Chromebook FAQ also explains that ChromeOS Linux support does not change the basic support position.
Advanced users may experiment with Linux environments, but that is not the same as a simple installation. It can add extra work involving storage, permissions, hardware routing, updates, and troubleshooting. For a first podcast or a small business team, a browser-based recorder is normally easier to deploy.
Android apps are another possibility, but an Android version and a web version may have different features and interfaces. Test the browser workflow first unless your team has a specific reason to use an Android application.
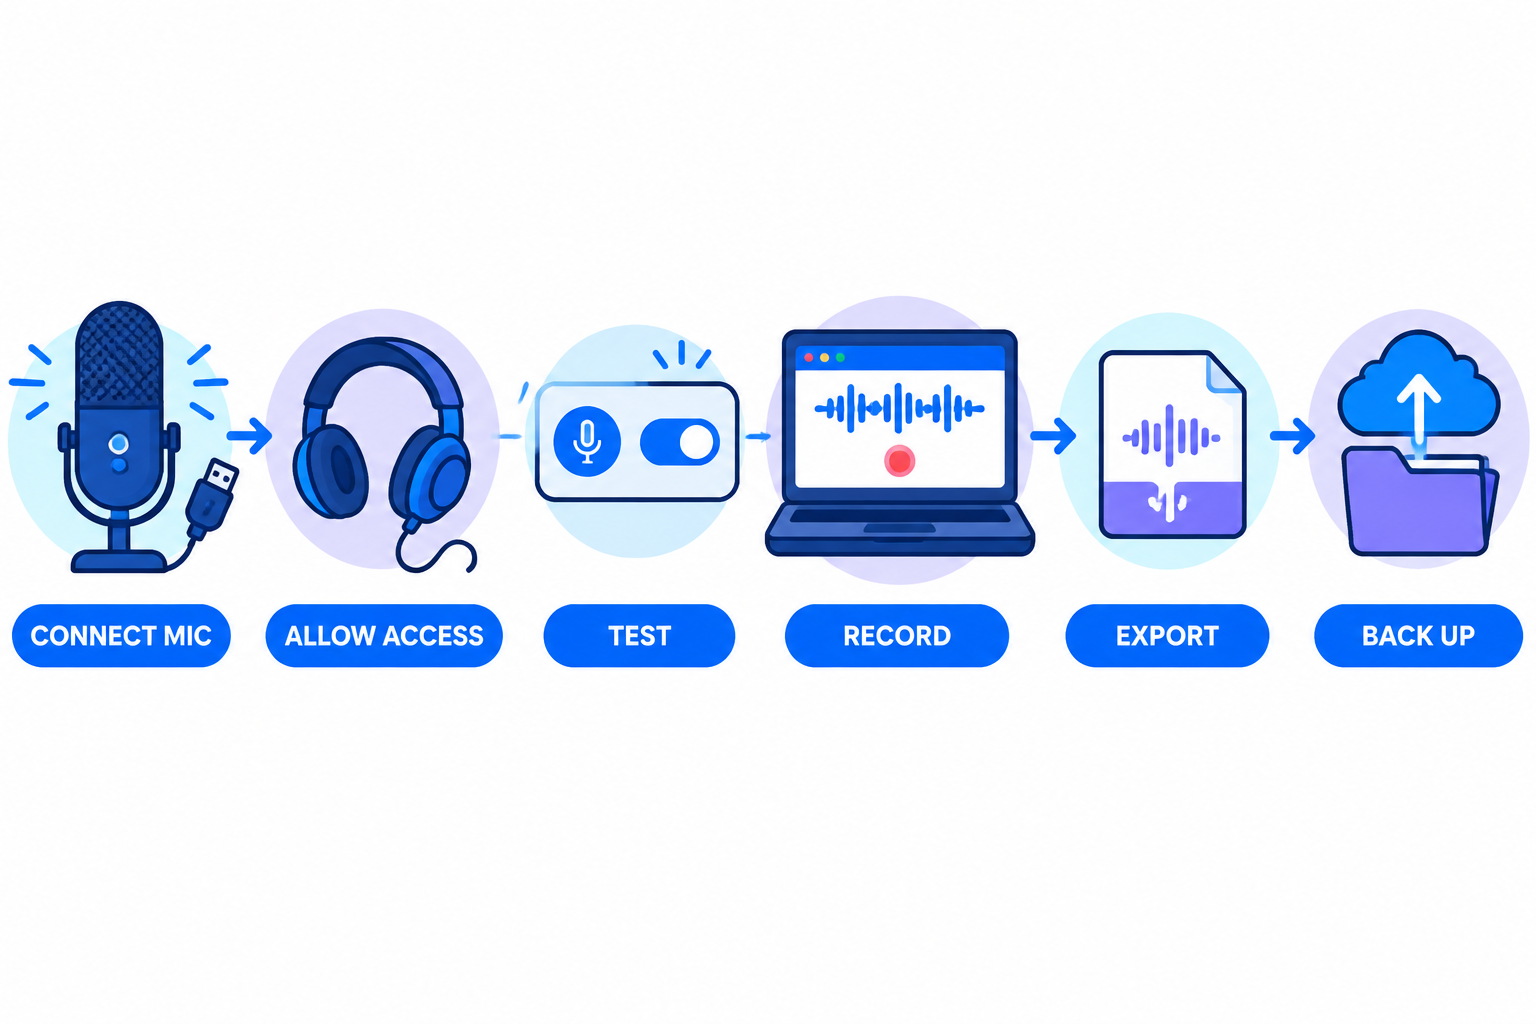
3. Set up microphone and permission access
A recorder can appear to load correctly while receiving no audio. Check permissions at three levels: ChromeOS, Chrome, and the recording service itself.
Step 1: Enable microphone access in ChromeOS
- Select the time in the lower-right corner of the Chromebook.
- Open Settings.
- Choose Privacy and security, then Privacy controls.
- Turn on Microphone access.
- If your Chromebook has a physical microphone switch, make sure it is enabled.
Google’s Chromebook microphone settings guide explains that turning off device-level microphone access can block microphone use across apps and services.
Step 2: Allow the recording site in Chrome
- Open the recording website in Chrome.
- When prompted, select Allow for microphone access.
- If the site was previously blocked, open Chrome settings.
- Go to Privacy and security, then Site settings, then Microphone.
- Find the recording site under blocked websites and change it to Allow.
- Refresh the project and reopen the recorder.
Chrome also lets you review site-specific permissions and choose a default microphone. See Google’s Chrome microphone permissions instructions if your Chromebook detects several sources, such as the built-in microphone, webcam microphone, USB microphone, or headset microphone.
Step 3: Select the input inside the recorder
Browser permission does not always select the microphone you intended to use. Open the recorder’s audio settings, select the correct input by name, and speak at your normal distance. The input meter should move consistently without staying flat or immediately reaching its maximum.
Record 15 seconds and listen through headphones. Check for a weak signal, distortion, fan noise, room echo, or delayed monitoring. For a more structured pre-recording check, follow Podtools’ mic quality test guide.
4. Record your first interview
A dependable Chromebook workflow should be deliberately simple. Close unnecessary tabs, avoid running a video call in the background, and capture clean speech before adding music or effects.
Step 1: Prepare the episode
Write the episode goal, three to five questions, the guest’s name, and the closing call to action. Keep the outline in a lightweight tab or on paper so it does not compete with the recording project.
For a lean startup team, assign clear responsibilities:
- Host: Leads the conversation and follows the outline.
- Guest coordinator: Confirms the guest, time, and backup contact method.
- Recording owner: Checks the input, starts the project, and confirms the save or export.
- Content owner: Notes timestamps, useful quotes, and follow-up tasks.
Step 2: Add a voice track
In the browser studio, create a project and add a Voice/Audio track. Choose the intended microphone and watch the input meter. If the service offers software monitoring, use headphones rather than speakers to reduce feedback.
Do not chase maximum volume. A conservative recording is easier to work with than clipped audio. Keep the microphone at a consistent distance and avoid touching the desk, stand, or cable during the conversation.
Step 3: Make a test recording
Say the guest’s name, episode title, and a few sentences at the expected speaking volume. Stop and play the test back through headphones.
- Is the voice level steady?
- Are there clicks, crackles, or gaps?
- Can you hear HVAC noise or room echo?
- Is headphone sound bleeding into the microphone?
- Is there a noticeable monitoring delay?
Fix problems before starting the interview. Re-recording 30 seconds is easier than discovering a microphone or permission problem after a long conversation.
Step 4: Use audible edit markers
If a sentence needs to be removed, say “edit point,” pause briefly, and repeat the sentence. These markers make later editing faster without requiring you to restart the entire session.
For remote interviews, keep a backup recorder ready whenever possible. A second computer or phone can preserve the conversation if the primary browser session fails. It does not need to be the final production track; it only needs to provide a fallback.
5. Export and back up the audio
Cloud saving is useful, but it should not be your only copy. After recording, export the audio and place it in a shared folder with a consistent filename.
Use a naming pattern such as:
show-name_episode-number_guest-name_YYYY-MM-DD_raw
Keep separate versions:
- Raw recording: The original capture before edits.
- Edited master: The cleaned version used for publishing.
- Distribution copy: The compressed file prepared for your podcast host.
Use WAV or another higher-quality export for the master when the tool provides that option. Use MP3 when you need a smaller distribution file or your hosting workflow requires it. Do not delete the raw recording immediately; it may be useful for corrections, clips, transcripts, or repurposed content.
Play the exported file from beginning to end. Confirm that it opens, has the expected duration, contains all speakers, and does not end abruptly. If you need to combine separate recordings, see Podtools’ guide to merging audio files online.
6. Troubleshoot latency and dropped audio
Latency or delayed monitoring
Latency is a delay between speaking and hearing the monitored signal. It can make an interview feel unnatural and may cause speakers to talk over one another.
- Turn off software monitoring if you can hear your voice directly through the device or interface.
- Use wired headphones instead of Bluetooth headphones.
- Close unused tabs, video calls, music players, and extensions.
- Reduce active tracks and effects.
- Refresh the recording studio.
- Restart the Chromebook if the delay continues across projects.
These steps reduce workload but are not guarantees. Browser audio performance varies by device, project size, and browser state. BandLab’s official stuttering and performance guide recommends reducing project load when browser or device performance causes interruptions.
Dropped audio, gaps, or a frozen recorder
First determine whether the problem is local or remote. If only the guest disappears, their connection or recording setup may be responsible. If your own waveform contains gaps, check the Chromebook, browser, microphone connection, and recording service.
- Connect the Chromebook to power.
- Move closer to a reliable Wi-Fi access point.
- Disconnect unnecessary USB devices.
- Confirm that the microphone cable is secure.
- Close high-resource tabs and applications.
- Record a short test before restarting the interview.
- Save or export whenever the software allows it.
The priority for a small team is failure prevention. A better microphone cannot recover a missing recording, so build the process around short tests, repeatable permissions, local exports, and a backup capture method.
7. When is a Chromebook no longer enough?
A Chromebook remains a sensible podcast computer when your workflow is browser-based, episodes are relatively simple, and portability matters. It may become limiting when you need large multitrack sessions, advanced noise reduction, extensive plug-ins, complex video editing, or offline work with large audio libraries.
Consider another computer if you regularly encounter several of these conditions:
- The browser recorder stutters after you close other tabs.
- Your projects contain many tracks, effects, or long recordings.
- You need advanced automation or desktop plug-in support.
- You frequently work without reliable internet access.
- You produce synchronized video and audio for every episode.
- Your team needs several microphones and complex monitoring paths.
You do not need to replace the Chromebook immediately. Keep it for planning, guest coordination, publishing, and light editing, then use a more capable computer for demanding production work. Before buying, review Podtools’ podcast editing software guide and compare only the features your workflow actually needs.
Final Chromebook recording checklist
- Update Chrome and ChromeOS.
- Connect and select the microphone.
- Turn on Chromebook microphone access.
- Allow the recording website to use the microphone.
- Close unnecessary tabs and applications.
- Use wired headphones when possible.
- Record and review a short test.
- Keep the episode outline outside the recording project.
- Export a raw copy after recording.
- Back up raw and edited files in a shared location.
For most beginners, the best free podcast recording software for Chromebook is the browser tool that recognizes your microphone, saves reliably, and exports a usable file. Start with a short interview instead of a full production marathon. Once the workflow is stable, improve the microphone, room, editing, and publishing process one constraint at a time.