Finding free podcast recording software for Windows 10 is only the first step. A recorder may install successfully and still fail when Windows blocks microphone access, the wrong input is selected, a driver is unstable, or the project is saved to an unreliable drive.
This checklist focuses on compatibility and repeatability for older Windows computers and small-business teams. It does not replace an equipment-buying guide or a first-recording setup guide. If you are still comparing hardware, see the small-business podcast equipment buying guide separately.
For a local desktop workflow, Audacity is the clearest option to test first. Its official Windows download page says the current application is tested on Windows 10 and Windows 11, supports x86_64 Windows builds, and requires fast, uninterrupted access to a hard drive or SSD. Check Audacity’s current Windows download and requirements before installing because software versions can change.
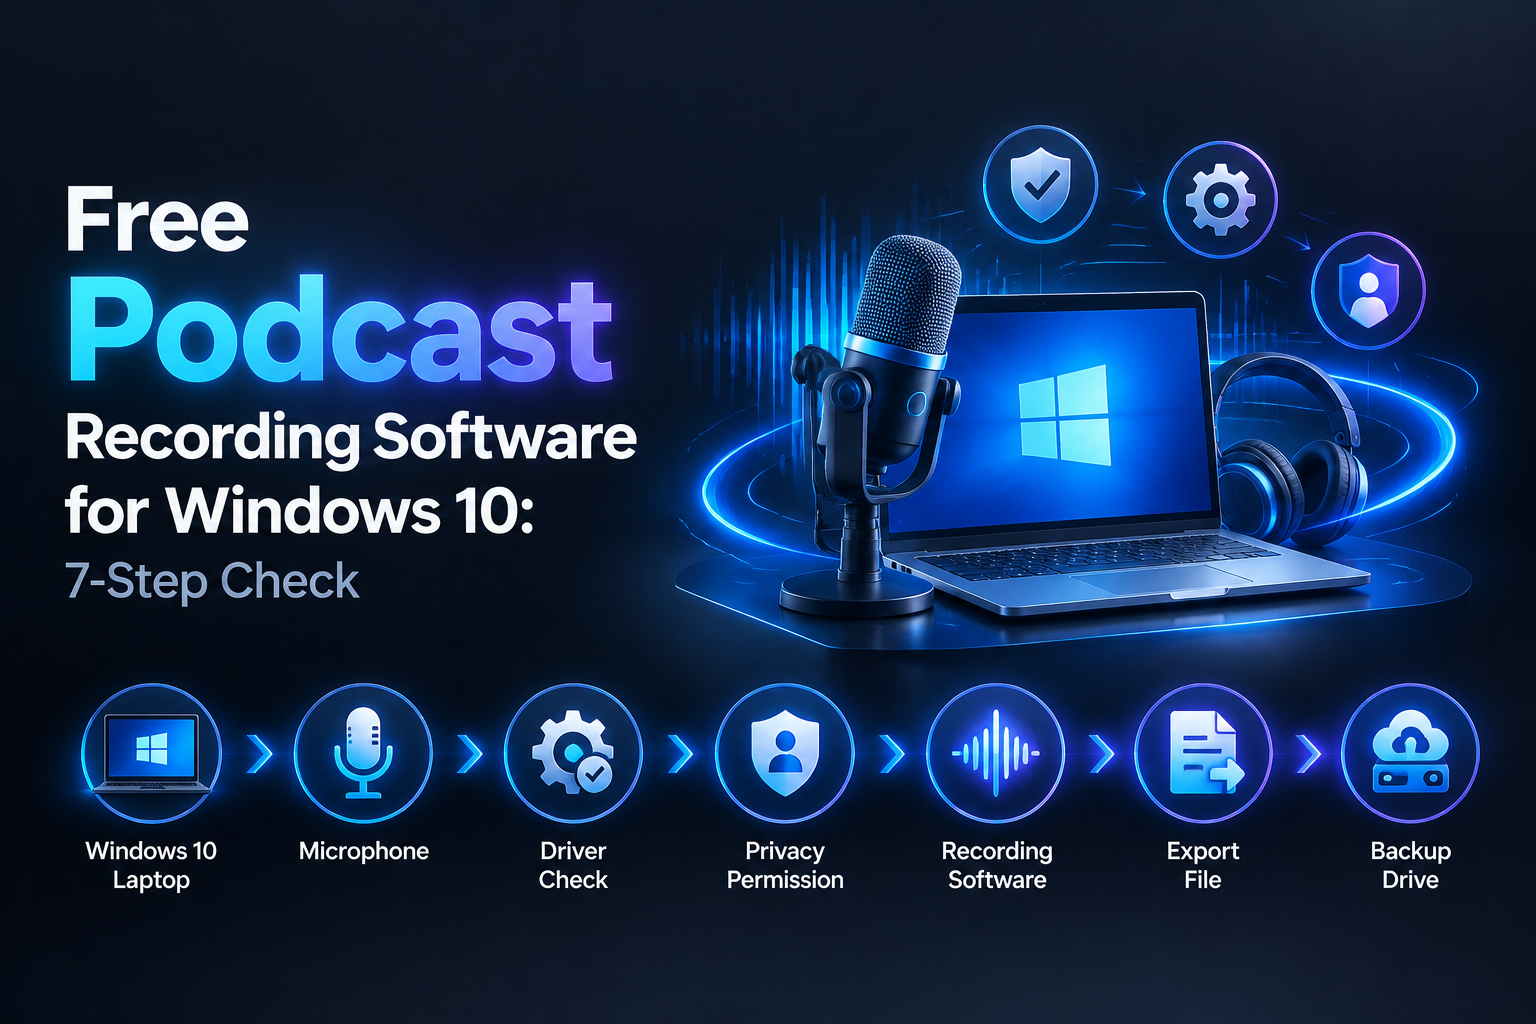
1. Confirm Windows 10 and computer compatibility
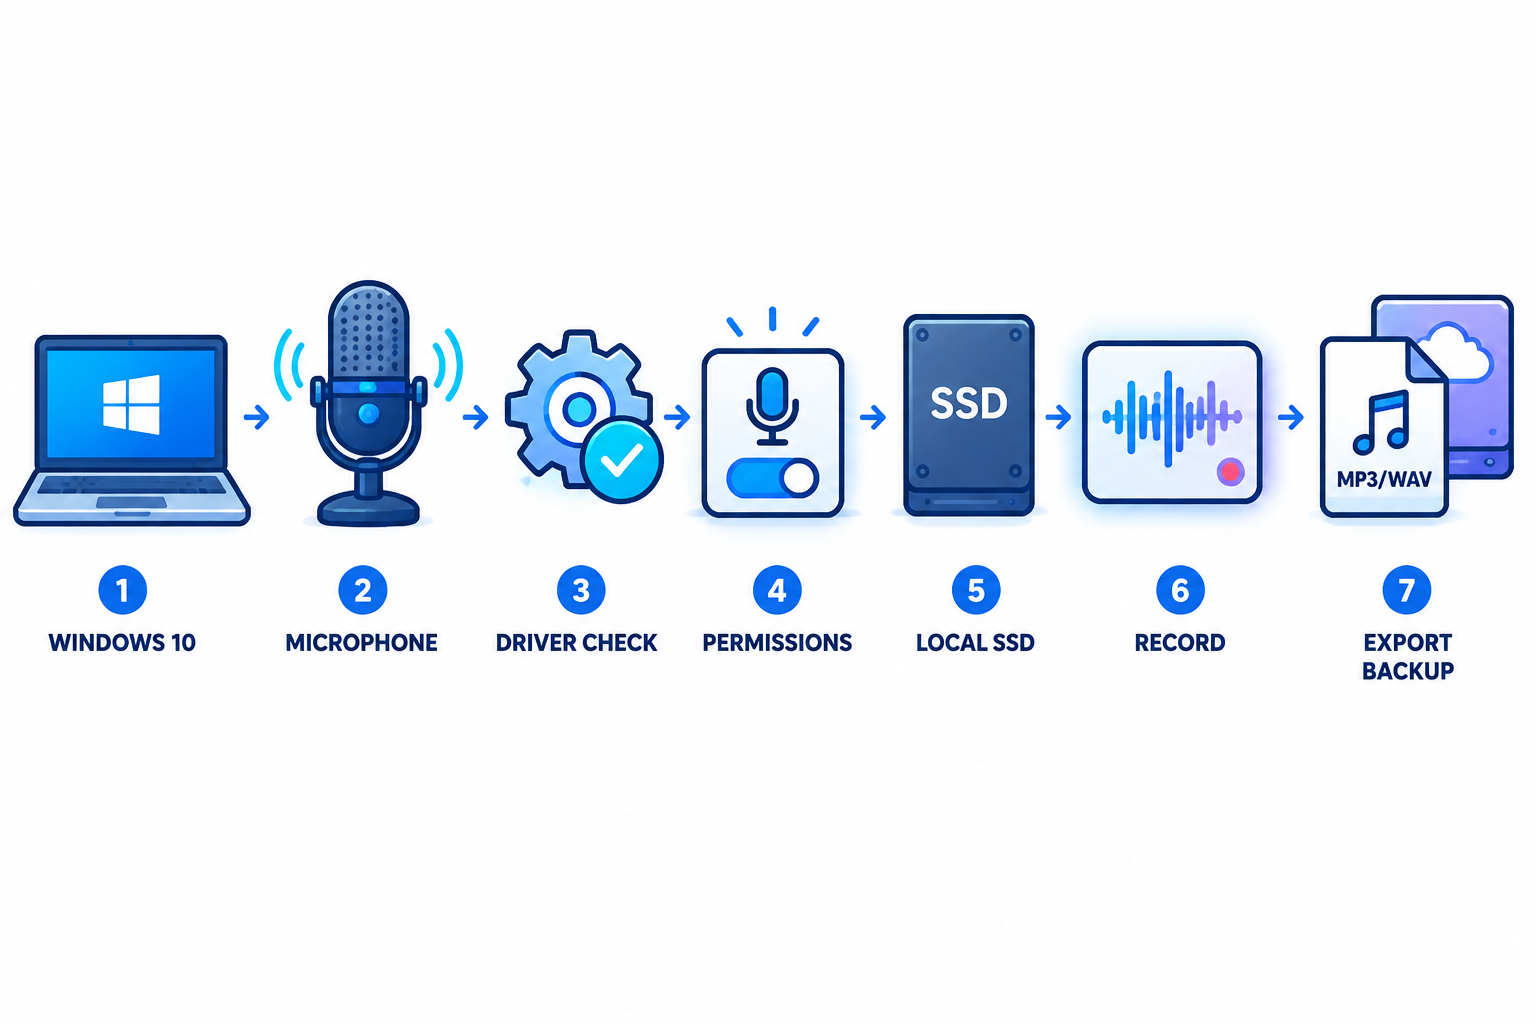
Start with the computer, not the recorder. Open Settings > System > About and note the Windows version, system type, processor, installed memory, and available storage.
Match the installer to the system
Most modern Windows 10 computers use a 64-bit x86 processor, but do not guess if you are supporting an older machine. Audacity’s installation guide lists both 64-bit and 32-bit builds and recommends 64-bit unless you know the computer is 32-bit. It also says installation requires roughly 500 MB of free space and may require administrator approval on a managed computer. Review the official Audacity installation instructions before downloading.
- Confirm whether Windows is 32-bit or 64-bit.
- Keep enough free space for the application, projects, temporary files, and exports.
- Download only from the developer’s official website.
- Ask an administrator before installing on a work or school computer.
Account for Windows 10’s support status
Windows 10 reached end of support on October 14, 2025. The operating system can still run, but Microsoft says it no longer receives ordinary technical assistance, feature updates, or security updates after that date. Read Microsoft’s Windows 10 end-of-support guidance before using an older computer for business recordings or sensitive files.
This does not automatically make a compatible recorder unusable. It changes the risk calculation: keep installers authentic, maintain backups, avoid unnecessary downloads, and consider whether the computer should be upgraded or isolated from higher-risk tasks.
Use dependable local storage
Save an active recording project to the computer’s internal drive when possible. Audacity specifically warns that network storage, consumer-grade external drives, and USB thumb drives may be unreliable because recording needs fast, uninterrupted disk access.
Reserve space for:
- Raw audio and separate tracks
- The editable project file
- Temporary files created during recording and editing
- MP3, WAV, or other exports
- A second copy of the finished project
Copy the completed session to another drive after recording rather than making a slow network folder or thumb drive the live destination.
2. Check microphone drivers and Windows permissions
If recording software cannot see the microphone, test Windows before changing application settings. This separates an operating-system problem from a recorder problem.
Confirm that Windows detects the microphone
Open Windows sound settings and locate the microphone under the input section. Speak normally and watch the input meter. If the meter does not respond, work through this sequence:
- Reconnect the microphone.
- Try a different USB port without using an unpowered hub.
- Check the microphone’s physical mute switch.
- Select the correct input device in Windows.
- Restart the computer if Windows recently changed drivers or installed updates.
- Test the microphone in another trusted recording or communication app.
Allow microphone access
Microsoft documents separate Windows controls for microphone access, app access, and desktop-app access. In Windows 10, open Settings > Privacy > Microphone, then enable microphone access and allow desktop apps to access the microphone when required. See Microsoft’s microphone privacy instructions for the available controls.
Browser recording adds another permission layer. The browser must be allowed to use the microphone, and the individual website may request permission separately. Test the exact browser and website before inviting a guest.
Check drivers without installing risky utilities
Open Device Manager and inspect the audio-device categories for warning icons or devices that disappear when disconnected. If a driver is missing or malfunctioning, use the microphone or interface manufacturer’s support page.
Avoid generic “driver updater” tools from unknown websites. They are not necessary for every audio problem and can introduce unwanted software. If Windows sees the microphone but the recorder does not, close video-call apps, browser tabs, voice assistants, and other software that may be using the device.
3. Choose local recording or a browser workflow
The most useful compatibility decision is often the workflow rather than the brand. Decide whether the episode should be recorded locally on one Windows 10 computer or through a browser with remote participants.
Local desktop recording
A local application such as Audacity is usually a good fit when:
- You are recording solo or in the same room.
- Your computer has reliable local storage.
- You want the session to continue if the internet disconnects.
- You prefer to edit files manually after recording.
- You want a desktop tool that can work offline after installation.
The tradeoff is responsibility. You must select the input, monitor levels, save the project, create backups, and coordinate separate tracks if multiple people record on different computers.
Browser-based recording
Browser tools can reduce installation work for remote interviews. Adobe’s official recording page describes a free online workflow that captures participant audio and video from their computers. Review Adobe’s current free podcast recording workflow before relying on it.
Before a real session, verify:
- Windows microphone permission
- Browser microphone permission
- The selected input device
- Guest invitation and joining steps
- Headphone monitoring
- Local storage for downloaded files
- Export format and access
For a wider comparison of browser-based podcast platforms, read the Riverside versus Descript comparison. You can also compare this workflow with our planned guide to free remote podcast recording software.
4. Set a consistent sample rate and safe input level
Once Windows and the recorder see the microphone, configure the basics before recording a full episode.
Keep the sample rate consistent
Sample rate describes how many times per second an audio signal is measured. For spoken-word recording, 44.1 kHz and 48 kHz are common choices. The practical rule is consistency: use the same rate across the Windows device, recording application, and project when possible.
If settings do not match, the application may resample the audio or show device conflicts. Choose one rate, record a short test, and avoid changing several audio settings at the same time while troubleshooting.
Leave headroom
Speak at the distance and volume you expect during the episode. Watch the meter while saying your loudest likely phrase. Leave room below the maximum rather than pushing the signal until it clips.
Clipping creates distortion that is difficult to repair. A slightly quiet recording is generally easier to raise during editing than an aggressively overdriven recording. Check whether Windows, the microphone interface, and the recorder each have separate volume controls before changing anything.
Use headphones
Headphones help reveal hum, echo, background playback, and monitoring delay. If your voice sounds doubled, disable one monitoring path or turn off software monitoring while you diagnose the signal flow.
5. Record a test episode
A short test can reveal more than a system-requirements page. Treat it as a compatibility test and keep the resulting project until you know the workflow is stable.
- Close unrelated calling, recording, and browser applications.
- Connect the microphone and select it in Windows.
- Select the same input inside the recording application.
- Record 30 seconds of normal speech.
- Speak louder for 10 seconds.
- Pause briefly to check for dropouts and background noise.
- Stop and save the project.
- Reopen the project if the application supports project files.
- Export a short MP3 or WAV.
- Play the export in another media player or on another device.
Listen for crackles, clicks, missing audio, sudden volume changes, delayed monitoring, and unexplained stops. Check the beginning, middle, and end of the export rather than listening only to the first few seconds.
For a structured review of clarity, noise, plosives, room reflections, and consistency, use the podcast microphone quality test guide.
6. Save projects and exports safely
An MP3 is a delivery file, not a substitute for the editable project. Keep the project, raw recordings, imported music, and final exports until the episode is published and backed up.
Use one folder per episode
A predictable structure reduces accidental deletion and makes handoffs easier:
- 01 Raw audio
- 02 Project files
- 03 Music and sound effects
- 04 Exports
- 05 Notes and artwork
Include the episode title and date in the folder name. Avoid saving the active project in a temporary downloads folder or directly to a USB thumb drive.
Verify every export
Open the exported file outside the recorder. Confirm that it plays, has the expected duration, includes all required speech, and works on another computer or phone. If your podcast host has specific delivery requirements, check them before deleting the project.
For practical delivery checks, see the podcast audio length and metadata guide and the MP3 file-size guide.
7. Troubleshoot missing devices, latency, and crashes
The microphone is missing
- Confirm Windows microphone privacy access.
- Reconnect the microphone and try another port.
- Close apps that may be using the device.
- Connect the microphone before reopening the recorder.
- Check Device Manager for warning icons.
- Test the device in Windows before testing the application.
The recording has latency or echo
Latency is a delay between speaking and hearing the monitored signal. It can result from software monitoring, Bluetooth audio, active effects, or a complicated signal path. Start with wired headphones, disable unnecessary effects, and turn off one monitoring path if you hear a doubled voice.
The software crashes or stops
Save to the internal drive, close unrelated applications, and confirm that sufficient storage remains. Reduce active effects and avoid recording directly to network storage. Also check whether a cloud-sync tool is trying to synchronize the active project while you record.
Before updating the application, preserve the current project and review the developer’s release notes. If an update creates a compatibility problem, use official older-version guidance rather than a modified installer from a third-party site.
The export sounds different
Compare the project and export at the same listening volume. Check for muted tracks, monitoring-only effects, incorrect export settings, and an unintended sample-rate conversion. Do not add aggressive processing until you know the problem is actually volume or dynamics.
What is the best way to record a podcast for free?
For a solo show or same-room conversation on one Windows 10 computer, a local desktop recorder such as Audacity is usually the simplest option to test. For remote guests, a browser-based service may reduce coordination work, but every participant should complete a microphone, browser-permission, and export test first.
The best workflow is the one that gives you reliable input selection, local recovery options, consistent exports, and a project you can reopen. A long feature list matters less than completing a clean test and knowing how to recover if something fails.
Does Windows 10 have a built-in audio recorder?
Windows 10 includes basic audio-capture options, but podcast production usually requires more: editable projects, multiple takes, level control, trimming, effects, and export formats. A dedicated free recorder is generally more suitable when you plan to edit and publish episodes.
Final Windows 10 compatibility checklist
- Windows version and system type are known.
- The installer came from the developer’s official website.
- The software’s Windows 10 support is confirmed.
- The microphone appears in Windows input settings.
- Windows microphone permissions are enabled.
- The same input is selected in the recorder.
- The active project is saved to a reliable local drive.
- Sample-rate settings are consistent.
- Input levels leave headroom and do not clip.
- Headphone monitoring works without echo or excessive delay.
- A test project can be saved and reopened.
- An MP3 or WAV export plays outside the recorder.
- The project and export have a second copy.
If every item passes, you have done more than install free podcast recording software for Windows 10. You have verified a repeatable recording workflow for your computer and team.